
Jump To
With poor letter formation there is a greater likelihood that printing will be difficult to read, reversals may occur, and speed will be slow. These worksheets aim to allow for proper fluid movement patterns to form letters, such as top to bottom and start at middle dotted line.
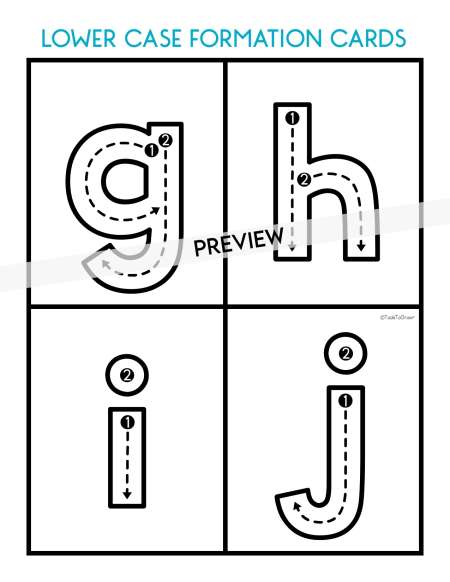
Print out each card and laminate for durability. Use a dry erase marker and trace the lines. Use the correct sequence to form each letter.
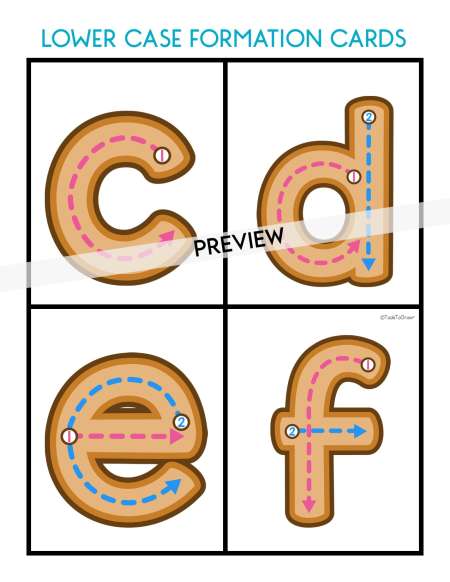
Print out each card and laminate for durability. Use a dry erase marker and trace the lines. Use the correct sequence to form each letter.
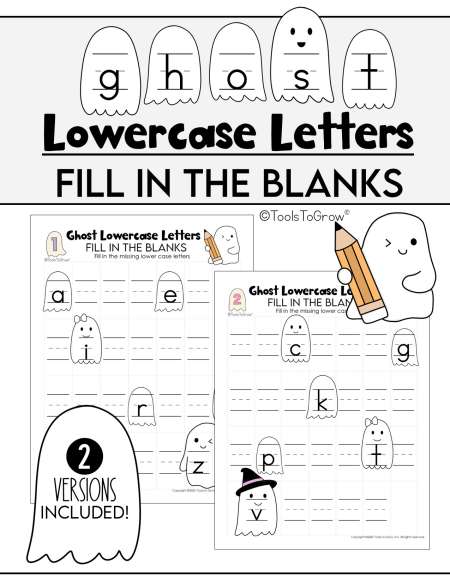
2 versions included! Instructions: Fill in the missing lowercase letters.
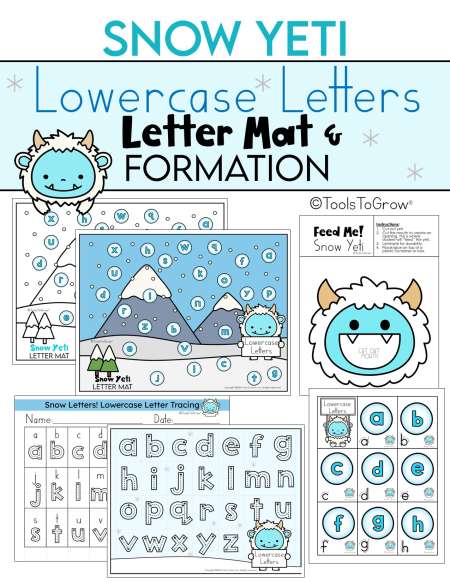
Directions: Print mat and laminate or place in clear protector sleeve. Print and cut out each alphabet card. Laminate for durability. Shuffle and place cards in a pile. Student flips the first card. Student rolls a small ball of dough and presses it on that matching letter. Or - place a chip on the snowball! Optional: Use letter tracing mat to write that letter. Optional: Assemble “Feed Me!” Yeti image. Once the letter is smashed and printed, place cards in the mouth of the yeti.
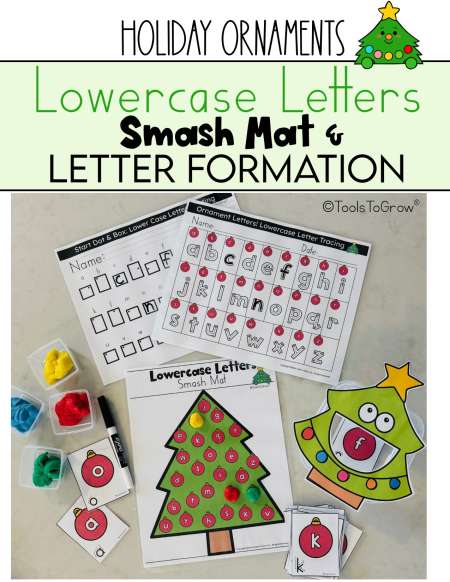
Directions: Print smash mat and laminate or place in clear protector sleeve. Print and cut out each alphabet card. Laminate for durability. Shuffle and place cards in a pile. Student flips the first card. Student rolls a small ball of dough and presses it on that matching letter. Practice isolating different fingers to press. Optional: Use letter tracing mat to write that letter. Optional: Use lowercase letter worksheet to write that letter! Optional: Cut out “Feed Me!” Tree image. Cut out mouth, this is where the student can place ornament cards in. Attach to a plastic container or box. Once the letter is smashed and printed, place cards in the mouth of the tree.
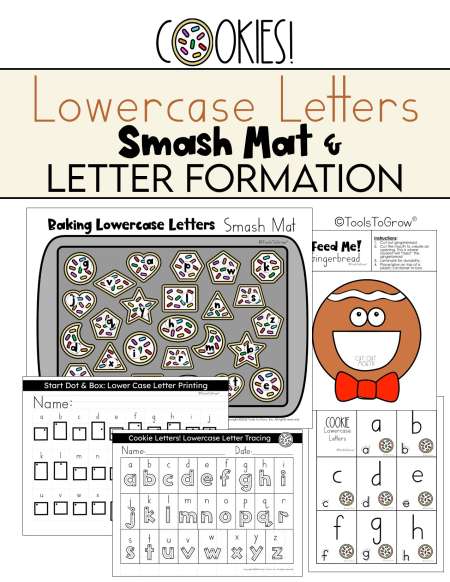
Directions: Print cookie smash mat and laminate or place in clear protector sleeve. Print and cut out each letter card or cookie. Laminate for durability. Shuffle and place cards/cookies in a pile. Student flips the first card/cookie. Student rolls a small ball of dough and presses it on that matching letter. Practice isolating different fingers to press. Optional: Use letter tracing mat to write that letter. Optional: Use lowercase letter worksheet to write that letter! Optional: Cut out “Feed Me!” Gingerbread image, this is where the student can place cards/cookies in.
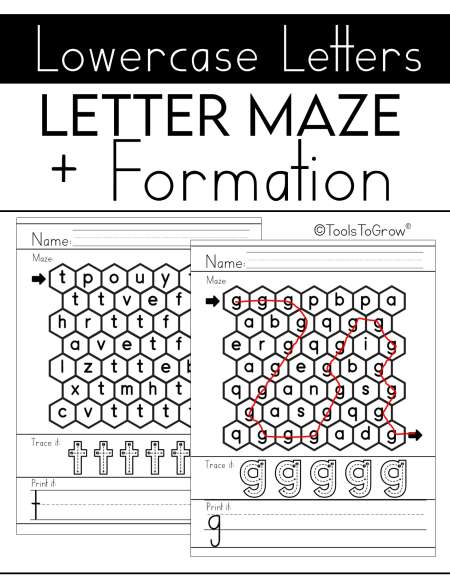
Includes UC letters a - z. Each letter includes a maze and letter formation.
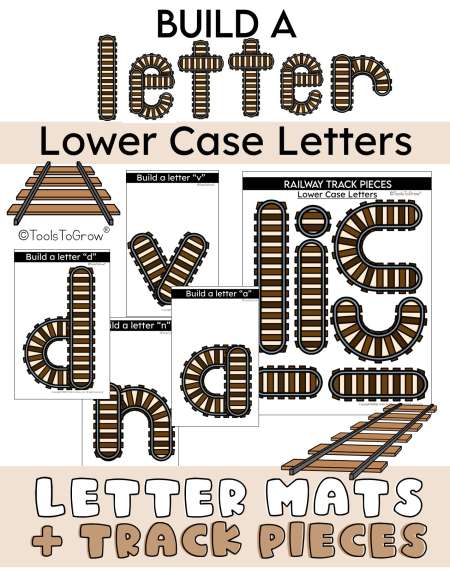
Instructions: Print and cut out each railway track piece. To have enough lines/curves, you will require at least 4 copies of the “railway track pieces”. Laminate pieces for durability. Print and cut out build a letter mats. Laminate for durability. Use the railway track pieces to “build a letter”. Use lower case letter mats to place pieces directly on mat.
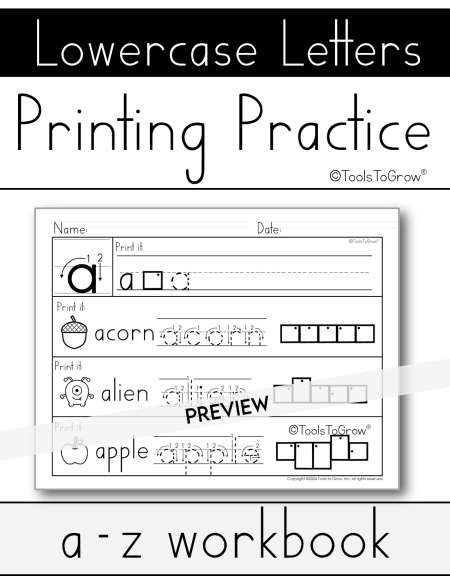
27 page workbook. Includes lowercase letters a - z.
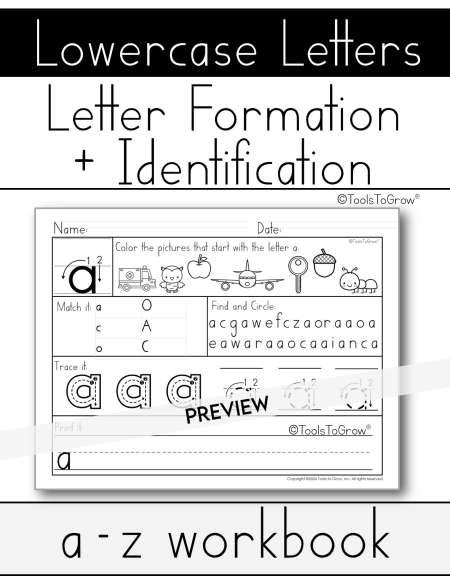
27 page workbook. Includes lowercase letters a - z.

Boxed starting dot. a-z
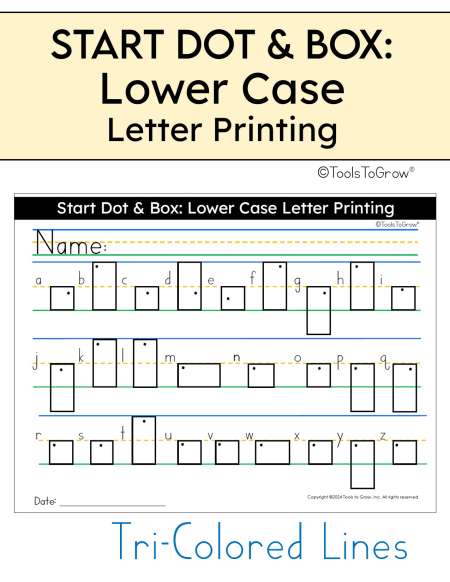
Boxed starting dot. a-z tri-colored three dotted lines.

Boxed starting dot. a-z
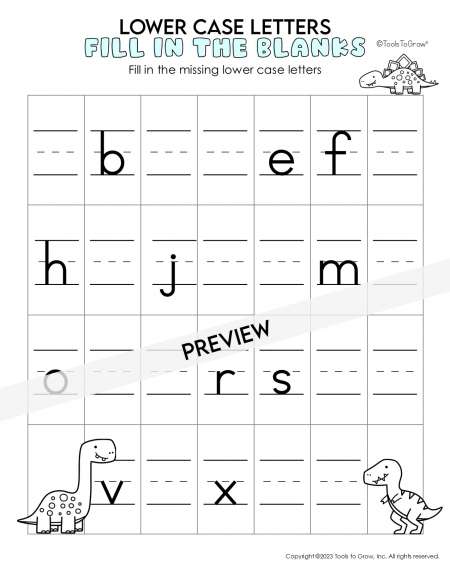
Fill in the missing lower case letters

Roll a die. Color the picture that starts with that letter. Next, print each letter.
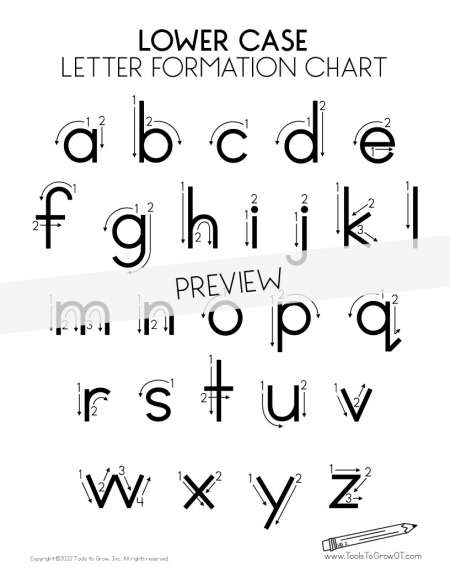
This one page PDF includes proper Lower Case Letter formation.

This one page PDF includes proper Lower Case Letter formation.
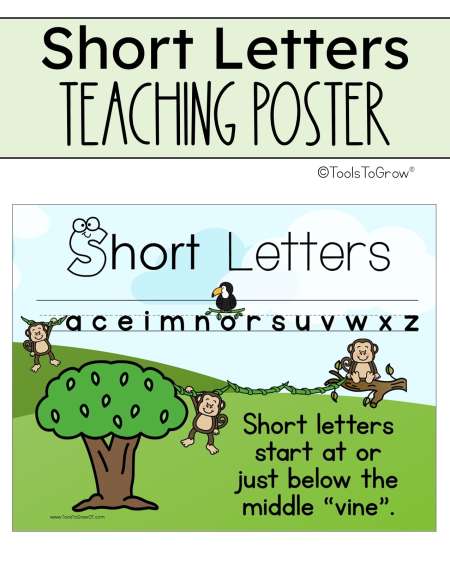
FREE Printable! Short letters start at or just below the middle dotted "vine"!

Great way to encourage fine motor skills and letter formation! Roll out the lines necessary for each letter. Place the lines together on top of each dough mat to make that lower case letter. Practice printing each lower case letter on the bottom of each page with proper formation. Includes all Lower Case Letters a-z!
