Shoe Tying: Tools, Tips, and Resources to Help Children
09.20.2016
Considered a milestone in development, children that can tie their shoes experience a great sense of accomplishment and independence. As thrilled as a child and parent can be once this skill is mastered, shoe tying can be difficult to accomplish.
Occupational Therapists can help parents understand that successful and time efficient shoe tying requires foundation skills in the areas of tactile discrimination, bilateral manipulation for hands to work cooperatively, eye-hand coordination, visual perception, and the motor planning of a sequence. This blog will review the pre-requisites that form the basis for shoe tying. The blog will offer some tips to help teach shoe tying, and finally, this blog will highlight what Tools To Grow has to offer to help the children in your life become proficient with shoe tying.
Tying requires a lot of touching and feeling: Intact tactile discrimination allows a child to know what the fingers are doing by touch. This helps a child determine how hard to hold the laces, where the laces overlap, how much force to use to pull the laces, where the end of the laces are, and so on. Activities that help a child to identify objects and textures by touch only (no use of vision) can help a child develop this foundation skill.
It takes two hands: Known as bilateral coordination, shoe tying necessitates the use of different sides of the body to execute similar, as well as dissimilar movements. The child needs to simultaneously move both hands in the same manner. An example of this is using both hands to pull the laces “apart” to make the knot tight. A child also needs to be able to simultaneously move each hand in a different manner. An example of this is using one hand to pinch a lace while the other hand is “looping” around it.
Watch what you are doing: Regarding eye-hand coordination, children will need to use their vision to guide their hands, especially when they are beginners. Although adults and older children can tie their shoes without the benefit of looking, beginners need to carefully use their eyes to guide them.
All those laces can get confusing: This is where visual perception and spatial awareness becomes a factor. When training a child to tie, an adult often gives verbal directions that include spatial relation terms such as right, left, in, out, on top, over, and under. The position and relationship of each of the two laces undergo ongoing changes as the task progresses. Given this, the child must perceive the relationship between the two laces as they cross, loop, and wind. The child must also perceive the relative size of each loop and string. If the loop is too large, the child may be unsuccessful. Activities that strengthen a child’s awareness of the right and left side of their body, as well as reinforcing the understanding of spatial vocabulary can help develop this foundation skill.
There are so many steps to remember: Adequate motor planning, also known as praxis, is needed to tie shoes. The child needs the ability to conceptualize, plan, and execute a sequenced motor act so as to consistently and efficiently tie. Just think about how many steps there are to make the knot, and then the bow. Given this, it is understandable that considerable time and practice is needed to accomplish shoe tying.
Some Shoe Tying Tips
- This skill takes time to master, don’t rush it!
- Don’t try to teach this skill when there is not enough time. Avoid teaching and practicing when everyone is hurrying.
- Teach one step at a time before moving onto the next. Repetition is very important. Try to practice each step for several days or longer.
- It is often more difficult to learn on your own shoe that is on your foot. Some children have difficulty positioning their body in a comfortable manner while learning to tie. Try using a shoe template mounted on a firm surface. The template can be placed on child’s lap or a tabletop for comfort while practicing.
- Some children will benefit from learning the steps in reverse; known as backward chaining.
- Sit next to your child, facing the same way as the child when demonstrating and/or assisting.
- Flat and stiff laces can be easier to use than round and floppy laces.
- Two different colored laces is easier for learning.
- Be sure the laces are long enough. Beginners need extra length to be successful.
- Textured shoe laces can be helpful for children that have difficulty with tactile perception.
- Generalize the child’s skills by practicing tying things other than their shoes.
- Praise and reward!!
Shoe Tying Tools & Resources!
Tools To Grow has specialized shoe tying resources for children that benefit from simplification, repetition, modification, and extra reinforcement to achieve success!
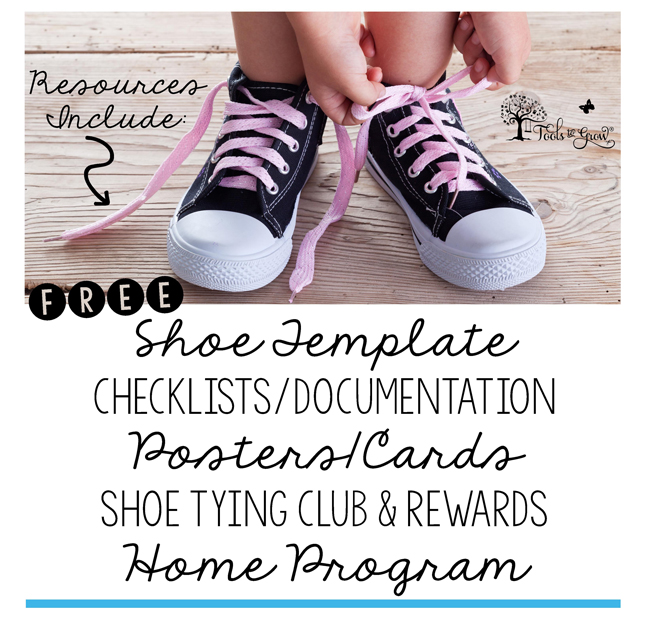
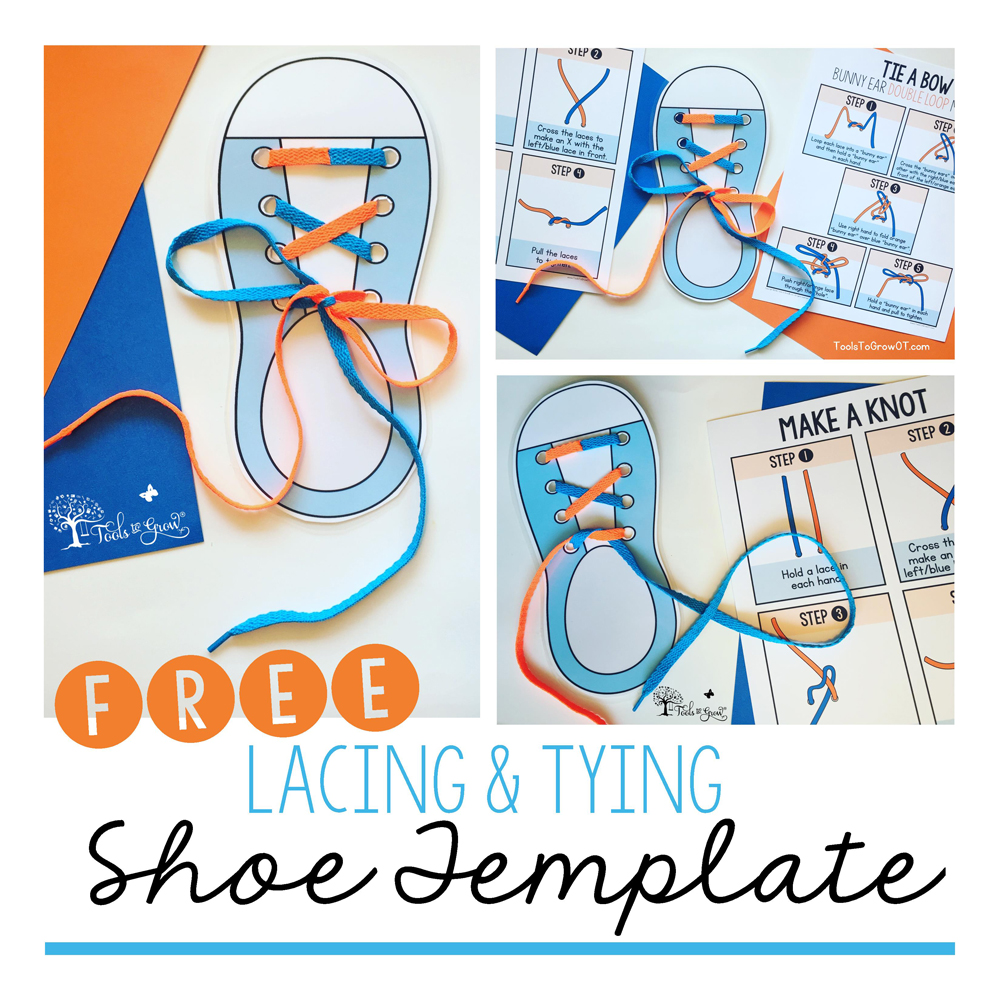
Lacing and Tying Shoe Template: FREE Printable!
This free printable resource is the perfect solution for shoe tying practice! To make your Shoe Template follow these steps:
1. Print template on heavy paper, cardstock, etc.
2. Cut out template.
3. Laminate for durability.
4. Cut out each dot.
5. Thread laces through holes. We suggest using 2 colors and tying/hot glue laces together in middle.
6. Tape template down on a hard surface. This could be:
• Small Cardboard Box (cereal box, shoe box)
• 1” binder rotated horizontally
• Table/Desk
7. Use simple wording/visuals to teach each step to tying shoes. Try our posters or cards.
Shoe Tying Posters/Cards: Step-by-step Visuals & Cues:
- Option 1: Poster = Print and laminate as single page posters
- Option 2: Create Cards = Cut out each individual step into a card. Laminate for durability. Optional: Place cards on a ring
There are 3 Posters/Versions Included:
1. Make a Knot
2. Tie a Bow - Single Loop Method
3. Tie a Bow - Bunny Ear Double Loop Method
Shoe Tying Checklists for Documenting Progress:
These checklists are the perfect solution to document progress and intervention when teaching shoe tying. Each checklist lists steps/verbal cues, visual, and dates to record progress. Also includes marking key.
Includes 2 Checklists/Versions:
1. Tie a Bow - Single Loop Method
2. Tie a Bow - Bunny Ear Double Loop Method
Shoe Tying Home Program: Record and keep track of shoe tying practice. Keep parents involved with this great home program. Practice tying your shoes every day! Child colors in a shoe each time he/she practices.
Children will LOVE to become members of the "Shoe Tying Club"! This exciting program includes a variety of resources that will help reinforce a child to do his or her best to master shoe tying. Can be used for individuals or the entire classroom.
Hole Punch Reward Cards: Practice tying your shoes and get a hole punch. Get 10 punches and you will get a surprise! Includes 4 versions. US and Canada/UK versions included.
Certificate/Award: Congrat-shoe—lations! Print this award/certificate when a child has mastered the skill of shoe tying. Includes color and black/white (ink friendly) versions.
Reward Brag Tags: Reward practice and mastery of shoe tying with these fun tags. Instructions: Cut out each tag and reward child. Make a wrist band and tape ends together. Includes - Color and Black/White (ink friendly) versions.
Classroom/ Clinic Display Activity: A fun activity to recognize and display shoe tying success! Each child will write their name on a shoe. Color/Decorate and cut out shoe. Hang up and display! Includes 2 different versions (Color and Black/White of each).
Member Tracker List: Keep track of all the members of the "Shoe Tying Club" on this list.
We hope these tools, tips, and specialized resources will allow for simplification, repetition, modification, and extra reinforcement to help the children in your life achieve success when learning to tie shoes!
Find this entire collection of shoe tying resources here!
Related Topics: Bilateral Coordination , Fine Motor Games , Fine Motor Skills, Free Resources , General, School Based OT, Self-Help/Life Skills, Tools to Grow at Home , Tools to Grow at School


